Storm Damage Restoration: Fast Help & Repair Guide
Home hit by a storm? Our storm damage restoration guide details immediate steps, repairs, and insurance claims. Get fast, reliable help.

A storm just hit your house. The roof may be open. Water may be moving through ceilings, walls, or floors. You’re trying to figure out who to call first, what to touch, and what not to do that could make the claim harder later.
That first day matters more than most homeowners realize. Storm damage restoration is not only about drying and repairs. It’s also about proof, timing, permits, scope, and whether the work gets approved and paid for without a long fight. If you handle the first steps well, you protect both the building and your position with insurance.
Table of Contents
- Your First Steps After The Storm
- The Professional Restoration Process Explained
- Navigating Your Insurance Claim
- What To Expect For Costs And Timelines
- Key Equipment And Safety Measures
- Checklist For Hiring A Restoration Company
- Storm Damage Restoration FAQs
Your First Steps After The Storm
If your home took a hit, slow down for ten minutes and work in order. A lot of claim problems start because people clean up too fast, throw damaged items away, or let a contractor start opening walls before the damage is documented.
Storm losses are common enough that they drive a large share of homeowner repair spending. In 2023, hurricanes and tornadoes accounted for 31% of homeowners’ disaster repair outlays, while fires accounted for 16%, making storm-related losses the largest disaster repair driver in that dataset, according to this storm damage restoration market report.
Start with safety and control
Use this order.
-
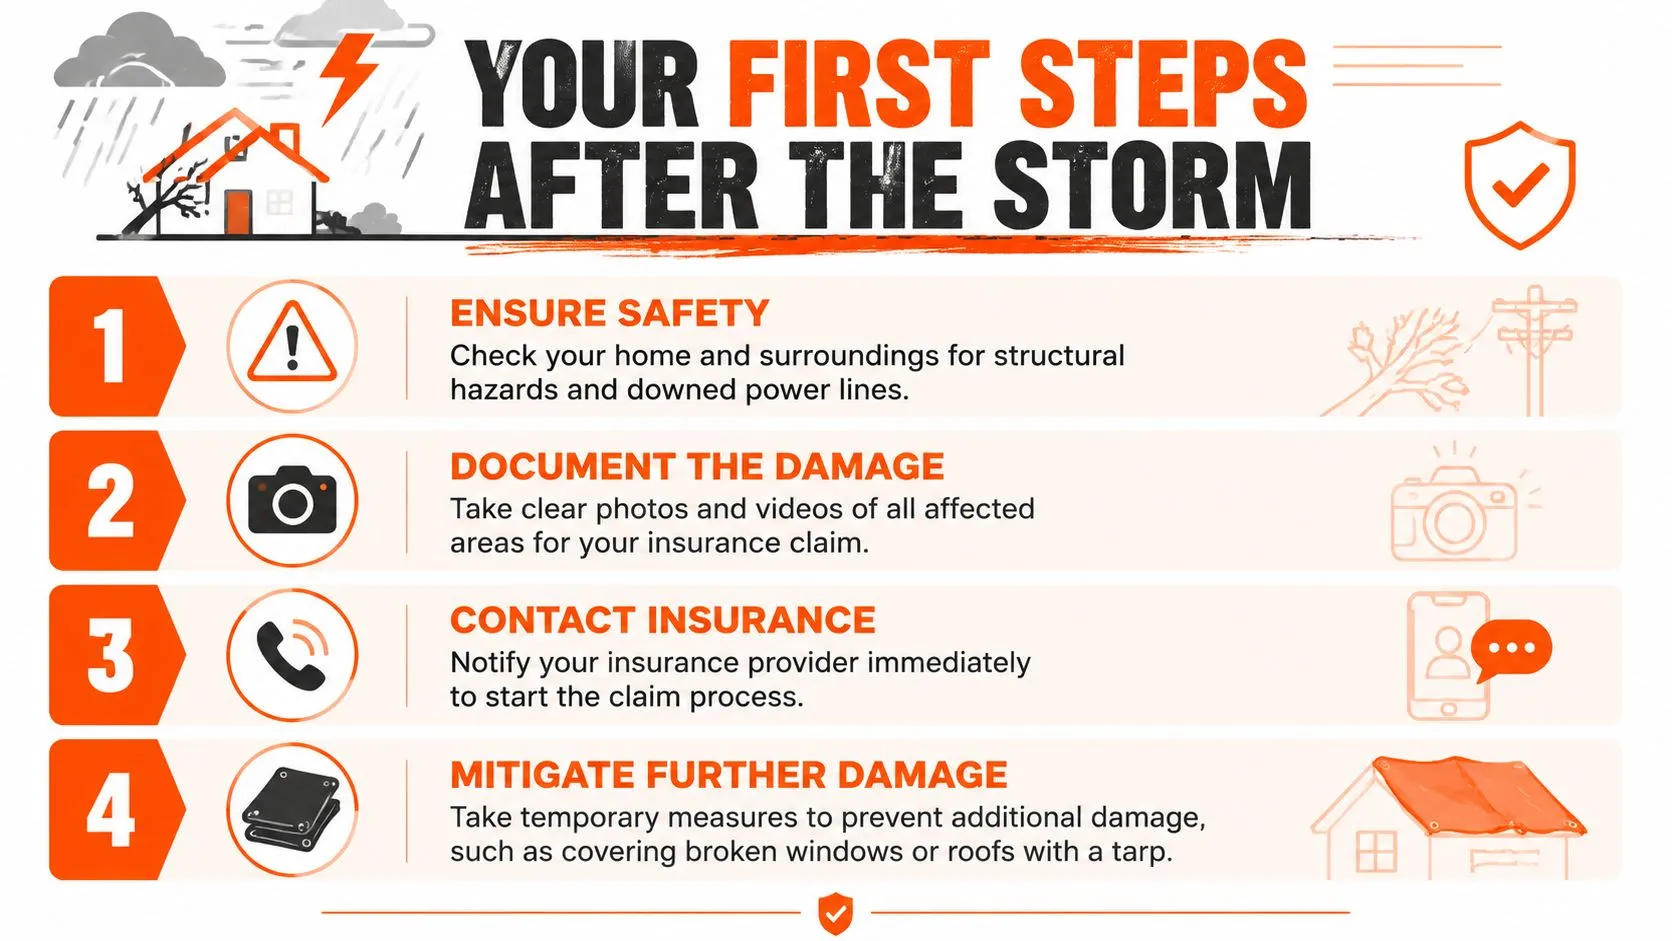
Check if the structure is safe to enter.
Stay clear of sagging ceilings, hanging branches, exposed wiring, and standing water near anything electrical. If the house smells like gas or feels unstable, leave and wait for qualified help. -
Stop people from making the scene worse.
Don’t let family members start mopping, dragging wet furniture across floors, or tossing damaged materials into a dumpster. That can erase evidence and make it harder to show what happened. -
Take photos and video before moving anything.
Get wide shots first. Then get close shots of roof leaks, ceiling stains, broken windows, damaged siding, wet insulation, flooring, furniture, and personal items. Open cabinet doors and closet doors if those areas got wet. Record exterior elevations too.
Practical rule: If you’re about to move it, tear it out, dry it, or throw it away, document it first.
Protect the property without erasing evidence
Temporary protection is smart. Full cleanup is not.
- Tarp openings if it can be done safely. A roof opening, broken skylight, or shattered window should be covered to reduce further water entry.
- Move contents out of active leak paths. Put items in a dry room if one exists.
- Save emergency receipts. Keep receipts for tarps, plywood, plastic, fans, hotel stays if applicable, and other immediate protective steps.
- Call your insurer early. Open the claim and ask what they want documented right away.
- Call a restoration company after you’ve documented the loss. A good team can stabilize the property and help keep the damage from spreading.
A simple log helps more than people think. Write down the date of loss, when water entered, when power was shut off, who you spoke with, and what temporary steps were taken.
The first mistake after a storm is waiting too long to mitigate damage. The second is doing so much cleanup that the original damage can’t be proved.
The Professional Restoration Process Explained
Once a professional crew arrives, the work should feel organized. If it feels random, that’s a problem. Good storm damage restoration follows a clear sequence, because drying, demolition, repairs, and claim support all depend on what gets found and recorded at the start.
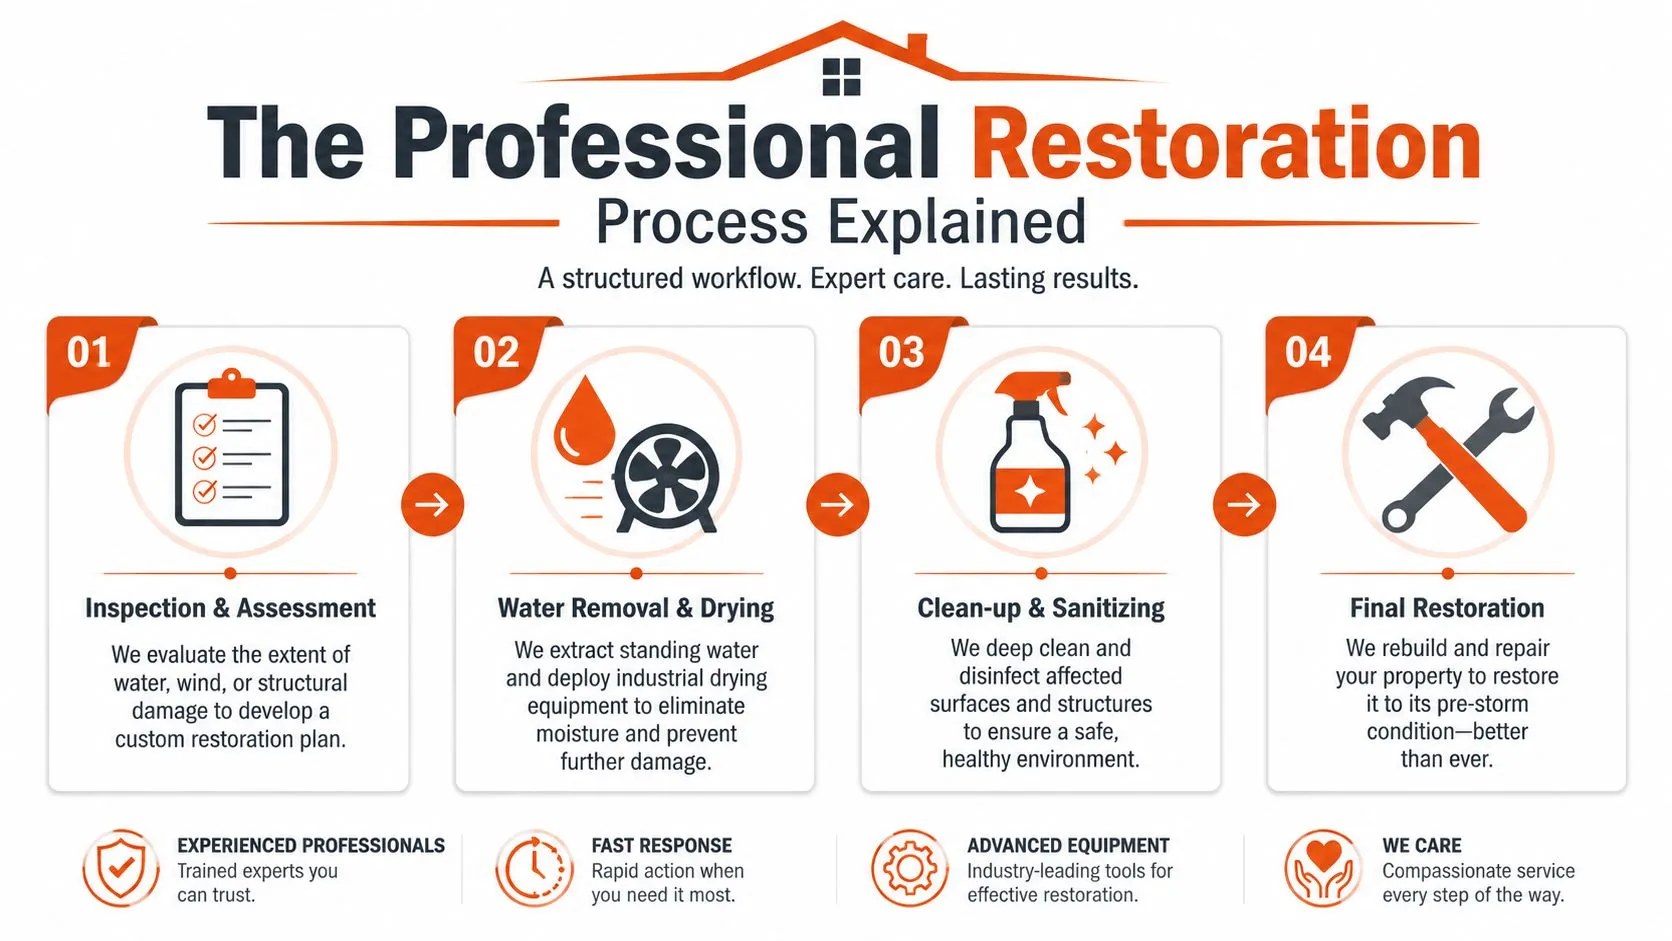
A recognized best-practice workflow is laid out in this step-by-step storm restoration process guide. It moves through emergency response and damage assessment, water and debris removal, structural and exterior repairs, interior repairs and cleanup, and then final inspection plus insurance coordination. The same source notes that moisture meters and thermal imaging help locate hidden wet areas before demolition.
Start with safety and evidence
A solid crew does not walk in and start tearing everything apart. They inspect first.
That inspection should include visible storm damage, moisture migration, likely entry points, and any sign that the structure may need a more serious review. Ceiling staining is obvious. Wet wall cavities are not. Water can travel well beyond the visible stain line.
Expect the crew to document:
- Exterior breaches such as roof loss, flashing failure, broken windows, and siding damage
- Interior moisture spread in ceilings, insulation, drywall, trim, flooring, and cabinetry
- Contents impact including furniture, electronics, stored items, and finishes
- Safety risks like unstable materials, contamination concerns, or electrical hazards
Here’s a useful visual overview before the details get technical:
What the crew should do next
After the inspection, the job usually breaks into tracks.
Stabilization first. That may mean roof tarping, board-up, water extraction, debris removal, and setting drying equipment.
Targeted demolition second. The right demo is controlled. It removes materials that can’t be dried or salvaged and preserves what can be saved. Bad demo is broad, rushed, and poorly documented.
Drying and monitoring. Equipment gets placed based on the materials, layout, and moisture readings. Then the crew comes back to monitor and adjust.
Repairs and rebuild. Exterior envelope items often need attention before interior finishes can be restored. There is no point closing walls if the building still leaks.
| Phase | What should happen | What often goes wrong |
|---|---|---|
| Inspection | Moisture mapping, photos, scope notes | Crew skips hidden moisture checks |
| Mitigation | Water removal, tarping, debris cleanup | Drying starts before evidence is captured |
| Demo | Limited removal based on damage | Too much gets torn out too soon |
| Rebuild | Exterior then interior restoration | Finishes go in before the structure is dry |
A good project manager keeps the sequence clean. That reduces missed damage, repeat work, and claim disputes later.
Navigating Your Insurance Claim
Insurance is where many storm jobs go sideways. Not because the damage isn’t real. Because the paperwork, scope, and timing don’t line up.
The easiest way to think about the claim is this. Your insurer needs a documented loss. Your contractor needs a workable scope. You need those two things to overlap enough that the job can move without you funding surprises you didn’t expect.
Your estimate and the insurer scope are not the same thing
A contractor estimate is a proposed repair plan and price for actual work. The insurer scope is the carrier’s version of what they believe is covered and necessary. Sometimes those line up well. Often they don’t.
That gap shows up in a few places:
- Hidden damage that wasn’t visible during the first adjuster visit
- Moisture spread beyond the obvious impact area
- Code-related items that affect how repairs must be done
- Repair-versus-replace disagreements on roofing, siding, flooring, or interior assemblies
This is why documentation matters so much. The job file should include photos, measurements, notes, drying records if applicable, and a clear explanation of why materials were removed or retained.
Don’t assume the first insurance scope is the final answer. It’s often the starting point for a documented discussion.
Where claims usually get stuck
A common failure point is starting demolition or dry-out before the damage baseline is fully captured. That problem is described clearly in this overview of storm restoration support and documentation. If photos and measurements are missing, claim approval can get harder and the adjuster may challenge the scope later.
Another issue is code compliance. Some homeowners hear “we’re just putting it back” and assume the repair is simple. Sometimes it is. Sometimes it isn’t.
According to J.S. Held’s explanation of storm damage repair requirements, the International Existing Building Code defines substantial damage as damage where the cost to restore a structure to its pre-damage condition is 50% or more of the structure’s pre-damage market value. Once that threshold is in play, stricter reconstruction requirements and licensed design involvement may be required.
That matters in practical terms. If framing, roof systems, or other structural components are significantly damaged, the repair may stop being a simple insurance-funded patch job. It may require engineering, revised plans, permits, and additional review.
When you speak with your adjuster, ask direct questions:
- What is currently approved
- What is still under review
- What documents are needed for supplemental items
- Whether permit or code issues may affect scope
- Who needs to approve changes before work proceeds
Keep every email. Keep every estimate revision. Keep every note from every call.
What To Expect For Costs And Timelines
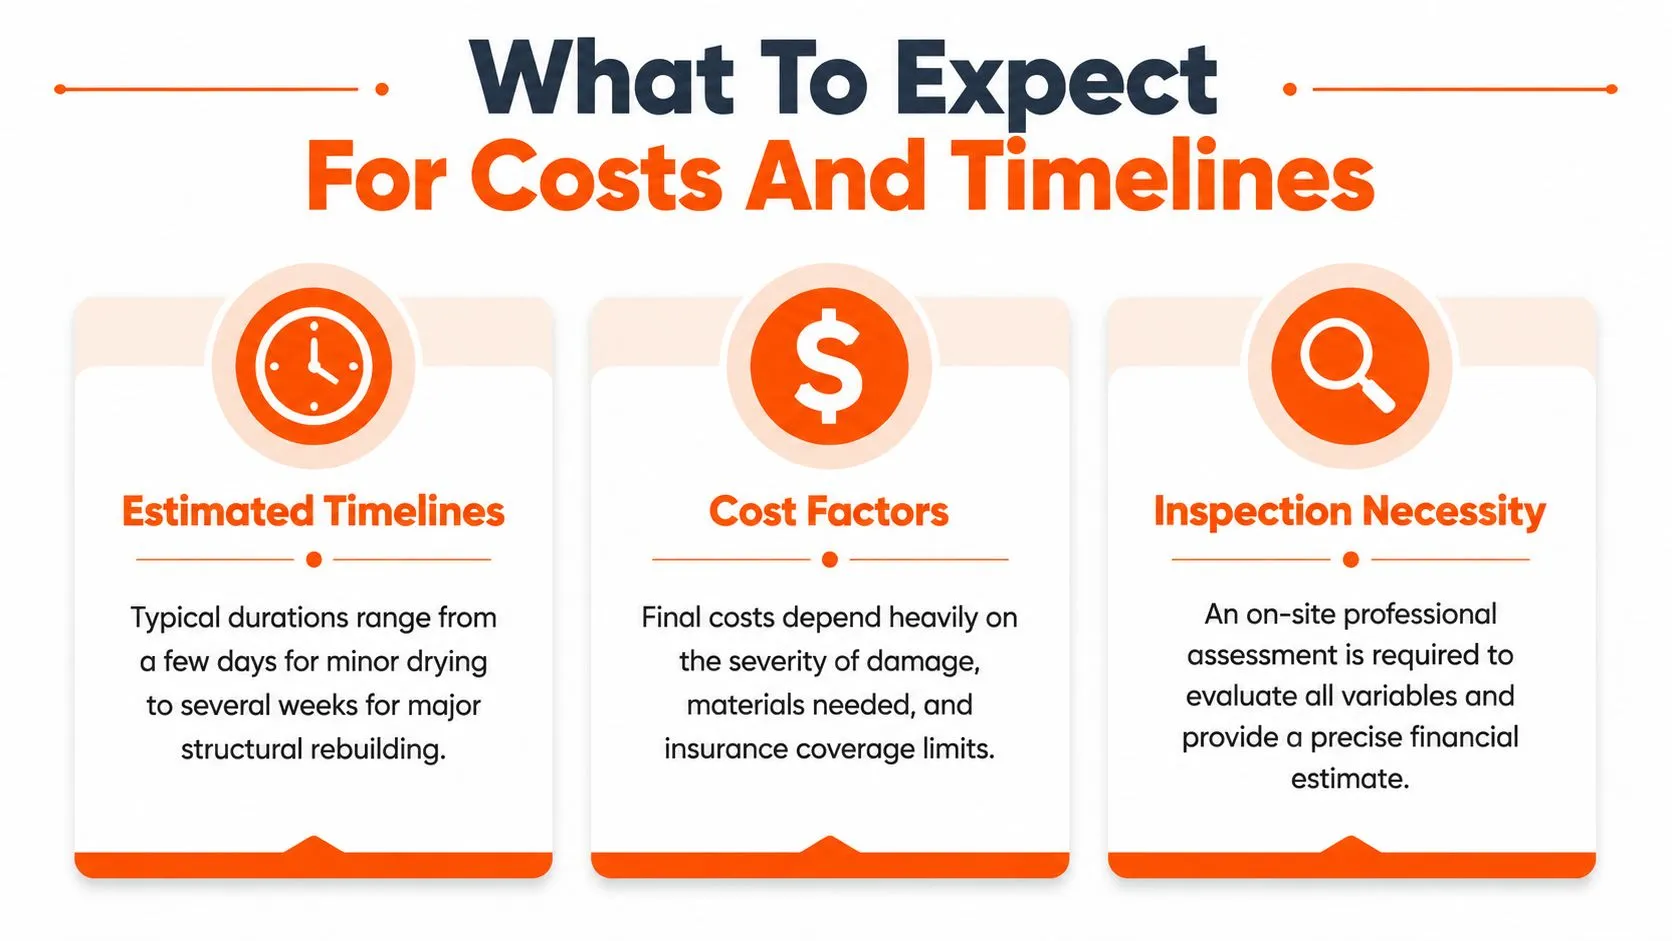
The honest answer is that nobody can price storm damage restoration correctly from a few phone photos. Not if they’re doing it right. Storm jobs vary too much by water spread, structural impact, access, materials, and local permit requirements.
That said, the service itself is not a fringe trade. It sits inside a large and growing category. One industry estimate places the global storm damage restoration services market at about USD 7.60 billion in 2025, with a projection to USD 10.97 billion by 2032 at a 5.36% CAGR, according to this market outlook on storm damage restoration services. The practical takeaway is simple. This is specialized work, and the process has become more formal and more technical.
What pushes the price up or down
A minor leak through one area is one kind of project. A storm that opens the roof, wets multiple rooms, affects insulation, and damages finishes is a different animal.
Main cost drivers include:
- How far the water traveled through cavities, ceilings, flooring, and contents
- Whether the exterior envelope failed and still needs temporary protection
- How much material must be removed versus dried and saved
- Structural concerns that may trigger design review
- Finish quality and material matching for roofing, flooring, cabinets, trim, and paint
- Permit and inspection requirements in your local jurisdiction
One trade-off comes up a lot. Fast mitigation can lower the amount of secondary damage. But rushing demolition without enough evidence can create claim friction. Good companies know how to move quickly without destroying the paper trail.
Why some jobs move fast and others drag on
Drying can start quickly. Full restoration often cannot.
A short schedule is more likely when the damage is localized, the roof is secured early, materials are available, and the insurer scope is clear. A long schedule is more likely when there are permit delays, specialty materials, structural questions, or unresolved scope disputes.
If you want a realistic schedule, ask for two timelines. One for mitigation. One for rebuild. They are not the same thing.
Here’s the practical way to read a schedule:
| Project factor | Usually speeds things up | Usually slows things down |
|---|---|---|
| Damage extent | Isolated area | Multiple rooms or systems |
| Scope clarity | Agreed scope early | Repeated supplements |
| Materials | Stock items | Special orders or matching issues |
| Compliance | Basic permit path | Engineering or code review |
The right expectation is not “how soon can this be done.” It’s “what has to happen before the next phase can start.”
Key Equipment And Safety Measures
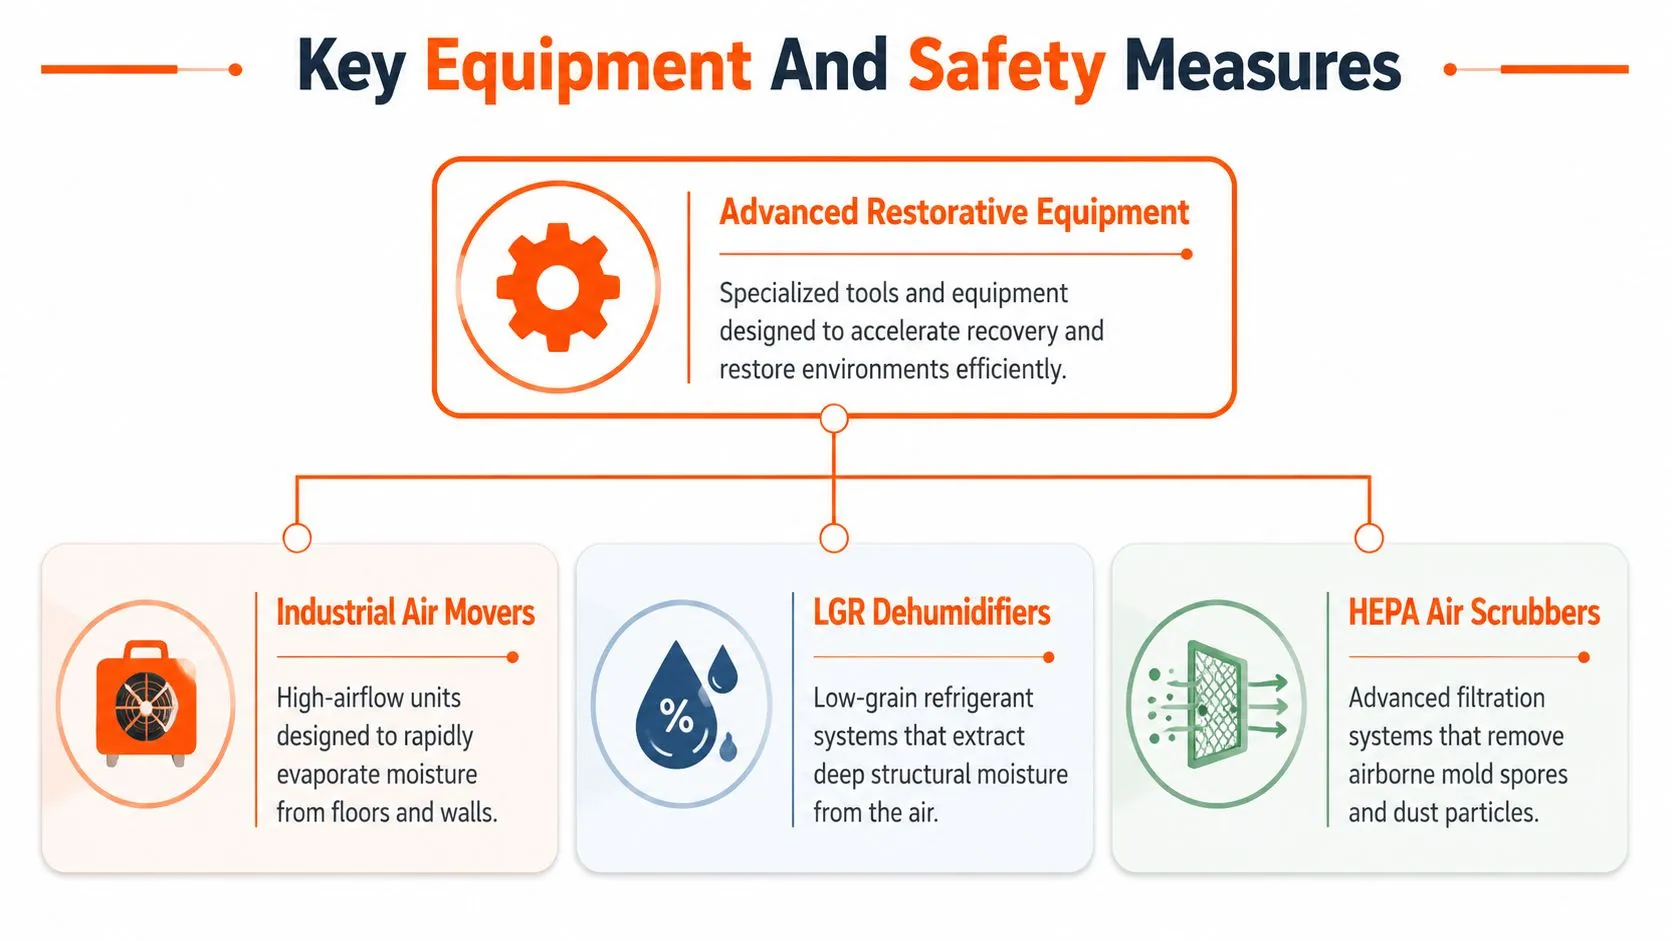
Homeowners often see fans and dehumidifiers and assume the job is basic. It isn’t. Equipment only works when it’s used for the right problem, in the right location, and adjusted as conditions change.
The gear matters because storm water rarely stays where it first lands. It can move into insulation, behind baseboards, under flooring, and into wall cavities. That’s why crews use both detection tools and drying tools.
The tools that actually matter
Moisture meters help confirm what is wet and track whether materials are drying. Without readings, a crew is guessing.
Thermal imaging cameras can help identify temperature differences that point to hidden moisture. They are screening tools, not proof by themselves. Good technicians confirm what the camera suggests.
Air movers increase airflow across wet surfaces so moisture can evaporate faster.
Dehumidifiers pull that moisture out of the air so the building doesn’t stay damp.
HEPA air scrubbers are useful when demolition, dust, or contamination concerns affect indoor air.
- Use meters for decisions. If a contractor can’t explain why an area is wet, ask how they verified it.
- Use thermal imaging carefully. It helps find suspect areas, but it should be backed up by direct readings.
- Use drying equipment as a system. Fans without enough dehumidification can create poor results.
- Use air cleaning when the work creates airborne debris. That protects the occupied parts of the home.
Safety issues homeowners should take seriously
Storm-damaged houses can hide a lot of risk.
Watch for electrical hazards near wet areas. Treat sagging drywall and ceilings as possible collapse hazards. Be cautious around debris, broken glass, exposed fasteners, and contaminated materials.
A careful crew should isolate work areas when needed, protect unaffected parts of the house, and explain where you can and cannot walk.
If a contractor acts casual around wet wiring, structural movement, or unstable ceilings, that’s a sign to slow the job down and ask harder questions.
Checklist For Hiring A Restoration Company
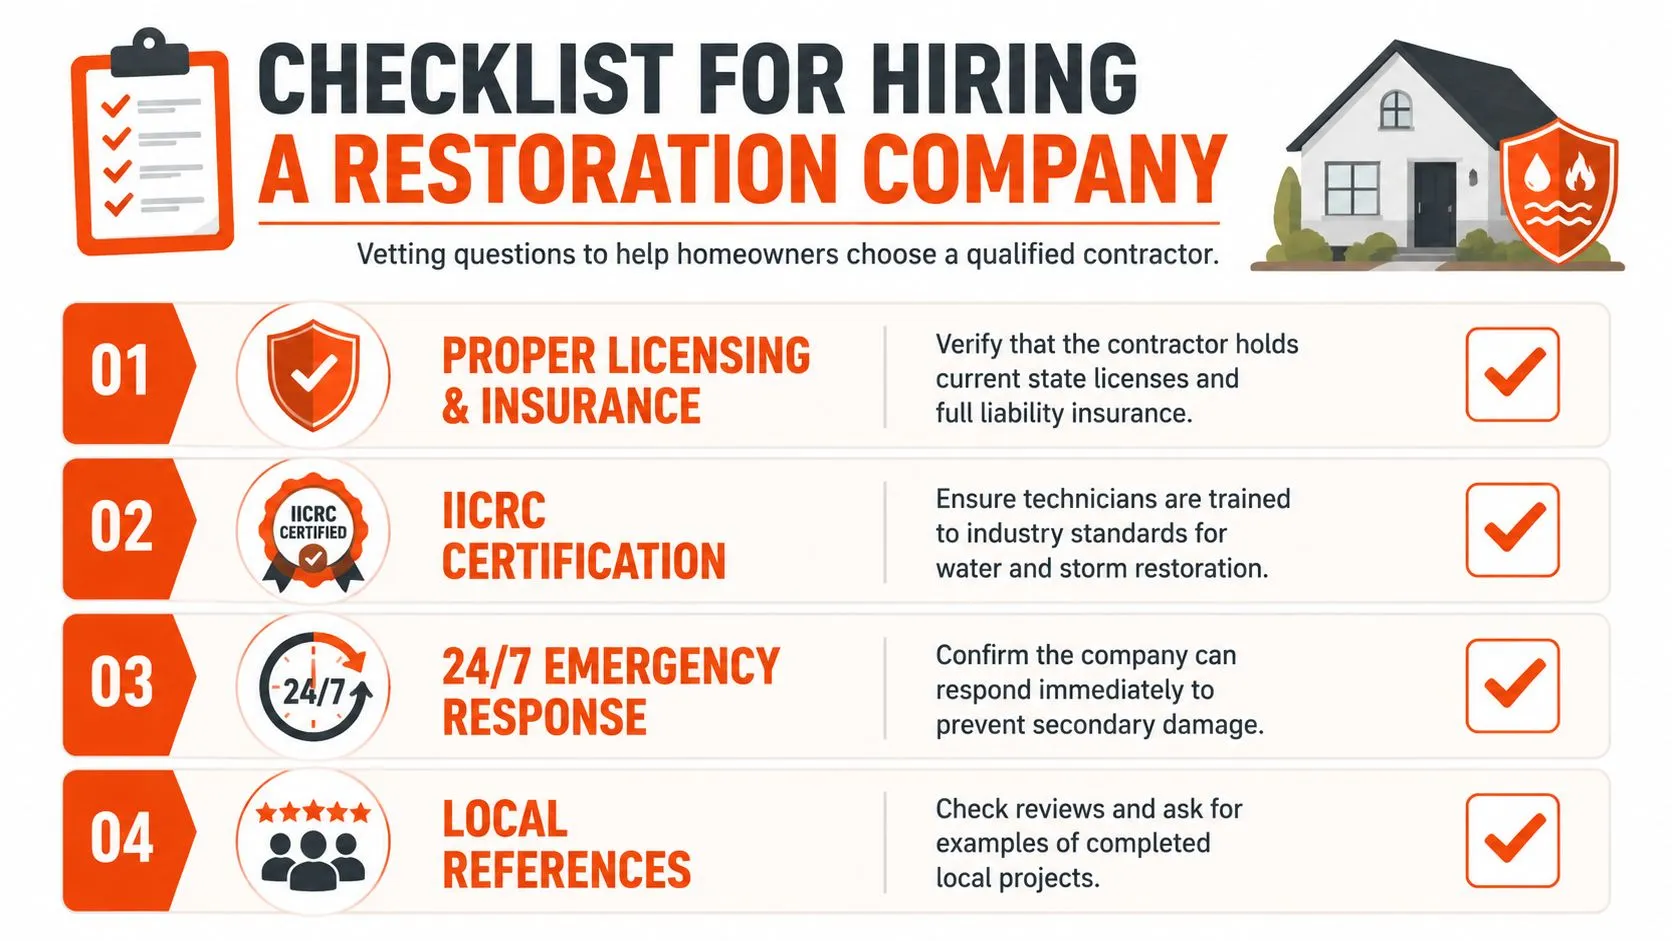
Picking the wrong company can make a bad week much worse. Storm events attract rushed operators, vague estimates, and contractors who promise they’ll “handle everything” without explaining the details. You need a company that can stabilize the property, document the loss, and manage the job all the way through rebuild.
Use the checklist below when you make calls.
Questions to ask before you sign anything
-
Are you licensed and insured for this work in my area?
Ask for proof, not a verbal yes. -
Who documents the damage and how?
You want a company that takes photos, measurements, notes, and daily records when needed. -
What is your plan before demolition starts?
If the answer is vague, that’s a problem. The scope should be tied to findings, not guesswork. -
Who handles permits and code-related issues?
Some jobs stay simple. Others don’t. You want a clear answer on who owns that process. -
Do you separate mitigation from rebuild in your paperwork?
Clear paperwork helps when insurance reviews the job. -
Will you communicate directly with the adjuster if supplemental damage is found?
This saves time and reduces confusion. -
Can you explain your drying or repair decisions in plain English?
A good project manager can do that without hiding behind jargon.
If mold risk is part of the picture, it also helps to understand how specialized firms are evaluated. This guide on choosing mold remediation companies near you gives a useful model for vetting restoration contractors more generally.
Warning signs to walk away from
Here are the big ones.
| Red flag | Why it matters |
|---|---|
| They push you to sign immediately | Pressure usually gets worse after the contract |
| They can’t explain documentation | That hurts the claim later |
| They promise full coverage without reviewing the policy | Nobody can guarantee that up front |
| They want broad demolition on day one | That can destroy evidence and expand cost |
| They speak vaguely about permits or engineering | Complex jobs need clear accountability |
The best company is usually not the one with the loudest pitch. It’s the one that answers direct questions clearly and puts the sequence in writing.
Storm Damage Restoration FAQs
The basic cleanup questions get answered everywhere. These are the ones that tend to decide whether a project stays manageable.
When do you need an engineer
You should start asking that question when the storm did more than wet finishes. If roof framing shifted, load-bearing walls took impact, the structure racked, or a large section of the envelope failed, you may need engineering input.
You may also need it when the permit path changes because the damage is more serious than it first looked. That often comes up after demolition exposes framing or connection damage that wasn’t visible at intake.
A practical sign is this. If the contractor says, “We need to see what’s behind this before we know whether it’s repairable,” you may be close to engineer territory.
Should you repair or upgrade
A lot of owners ask whether they should just restore the house to pre-loss condition or use the project to build back stronger. There isn’t one answer.
The trade-off usually comes down to current budget, insurance scope, future storm exposure, and whether this is a one-time event or part of a repeat pattern for the property. Upgrades can make sense when major assemblies are already open and accessible. They can be harder to justify when the damage is isolated and the added work falls fully outside the claim.
What matters is making that decision on purpose. Don’t drift into upgrades because a contractor suggested them casually. Ask what problem the upgrade solves, what part of the work is covered, and what future maintenance it changes.
What has to be documented before demolition
This is the part many homeowners miss. Before dry-out or demolition changes the scene, get the damage baseline documented.
That means clear photos, location notes, moisture findings where relevant, damaged material lists, and a record of what was affected before removal starts. This is not paperwork for paperwork’s sake. It supports the claim, helps align scope with the adjuster, and protects you if code or permit issues change the job later.
What if the house is dry but the claim is still unsettled
That happens more than people expect.
Mitigation can be completed while rebuild scope is still under review. In that case, ask for a clean separation between emergency work already performed and the proposed repair scope still being discussed. It keeps the file easier to understand and reduces confusion over what was necessary to stabilize the property versus what is still under negotiation.
A storm job is successful when three things line up. The building is dry and safe. The repair scope matches the actual damage. The paperwork supports the money being spent.
If you run a restoration company and want to show up earlier when homeowners ask AI who to call after a storm, FirstMention helps restoration brands get in front of that demand inside ChatGPT. They focus on restoration only, with campaigns built around urgent local intent instead of generic lead generation.